
Reviewed · 1-DAY TOURS
From Durban: Isandlwana Rorkes Drift Battlefields Day Trip
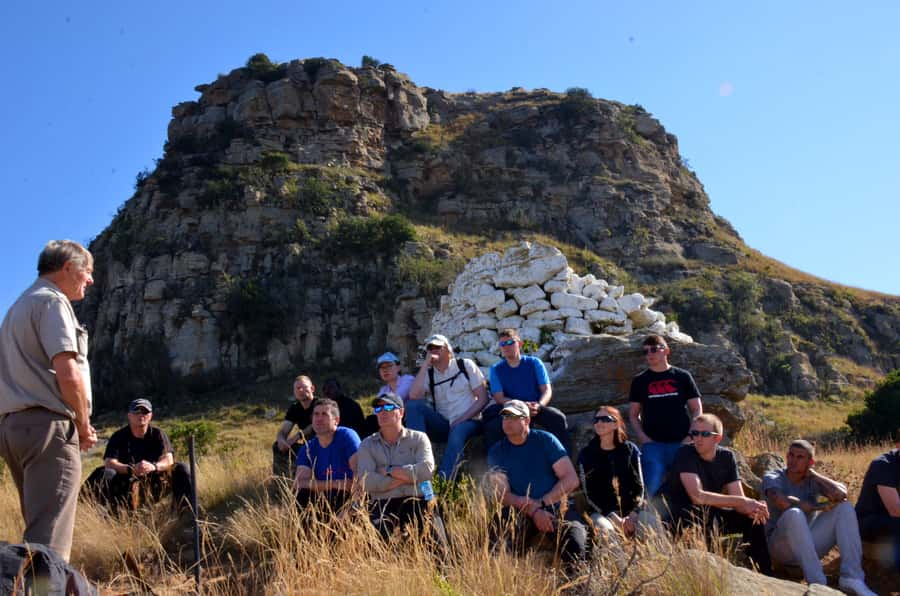
The most powerful part of this day is the contrast between Isandlwana and Rorke’s Drift. At Isandlwana, a much larger Zulu force overwhelmed a badly positioned British column. Hours later, at Rorke’s Drift, a small British garrison held its ground. You see both sites in one long, history-filled journey from Durban.
I like the way the tour links open battlefields with museums and memorials, rather than treating the war as a list of dates. I also like that the day includes Fugitives Drift and the Queen’s Colours memorial, giving you a final place to reflect before the drive home.
The catch is the distance. This is a 14-hour day, and the road journey takes up a large part of it. The tour suits serious history fans best, especially if you are willing to trade a relaxed Durban day for a demanding but meaningful visit inland.
Key points to know before booking
- Isandlwana gives the day its emotional weight: You visit the site of the British defeat on January 22, 1879.
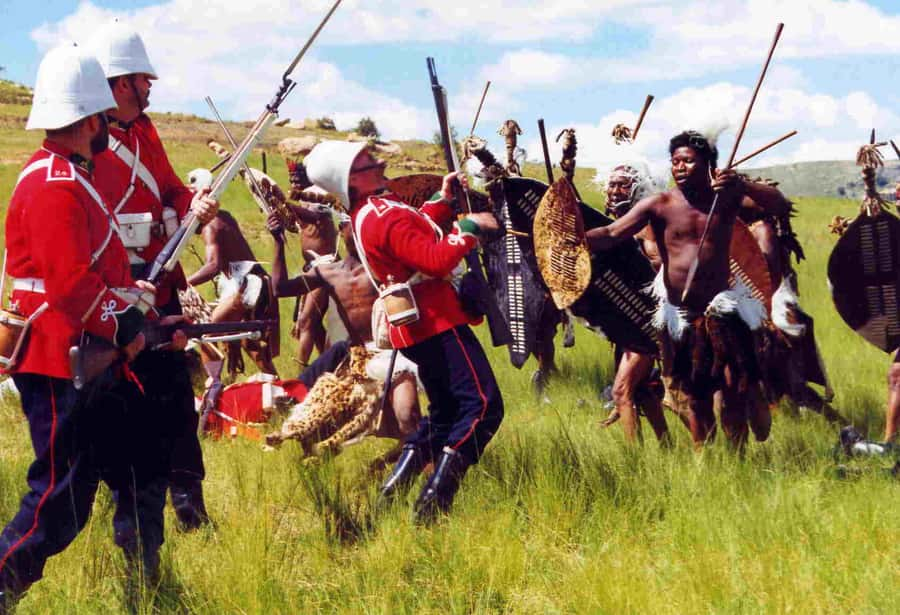
- Rorke’s Drift tells the opposite story: The mission station became the scene of a determined British defence immediately after Isandlwana.
- Fugitives Drift adds another memorial stop: The Queen’s Colours memorial completes the battlefield story.
- The day lasts 14 hours: Expect a full outing, with substantial driving from Durban and back.
- Several guide languages are available: Tours are offered in English, Greek, Portuguese, and French, with German and Polish available by request.
- The price is $198 per person: Entry fees and transport with a professional guide are included, but lunch and drinks are not.
Why the Isandlwana and Rorke’s Drift story matters
The Anglo-Zulu War began when the British Empire invaded Zululand in January 1879. Isandlwana was the first major encounter, and it produced one of the British Army’s most severe defeats in the nineteenth century.
The scale of the battle helps explain why the site matters. A Zulu force of about 20,000 warriors attacked part of the British main column, which included roughly 1,800 British, colonial, and locally recruited troops, as well as about 400 civilians. The Zulu army relied mainly on assegais, iron spears, and cowhide shields, though some fighters carried muskets and older rifles.
The British had the advantage in firearms, but weapons alone could not rescue a force that was poorly placed and badly led. The Zulus overwhelmed the position. When you visit Isandlwana, the broad setting makes the event easier to grasp than it would be from a book alone.
Rorke’s Drift presents a sharp contrast. The mission station was attacked soon after the defeat at Isandlwana, and the defence continued into the following day. The number of defenders was small, and the post faced a far larger Zulu force. The stop shows how quickly the war moved from one crisis to another.
I find the two battlefields work best together. Isandlwana explains the shock of a British defeat. Rorke’s Drift shows the determination of a much smaller group under pressure. Seeing both in one day gives you a clearer sense of the war than visiting either site on its own.
A few more Durban days worth comparing
- Big Five Safari and Breede River Valley Guided Day Trip
★ 5.0 · 526 reviews - Jo’berg in 1 Day: Soweto, Apartheid Museum & City Tour
★ 4.8 · 524 reviews - Cape Town: Cape Peninsula & Table Mountain Private Day Trip
★ 4.9 · 206 reviews
Leaving Durban for northern KwaZulu-Natal
Pickup is available from hotels and accommodations within a 5-kilometre radius of the local supplier’s office at Gooderson Tropicana Hotel on O R Tambo Parade in South Beach. Pickup can also be arranged from the harbour passenger terminal, which is useful if you are arriving by cruise ship.
The day begins early enough to make the long trip inland worthwhile, though the exact starting time depends on availability. You should confirm the departure time before booking, then plan for a full 14 hours away from your accommodation.
The journey is not just dead time. The route takes you away from the coast and into northern KwaZulu-Natal, and the countryside becomes part of the day’s sense of place. One practical point is clear: wear comfortable shoes, use sunscreen, and choose light, comfortable clothing. You will be outdoors at historic sites, and the day is too long for uncomfortable footwear.
Transport is provided with a professional guide. The guide is important here because the battlefields do not explain themselves. A low stone wall, a slope, or an open field can look ordinary until you understand how troops moved and where the decisions were made.
Guides named on different departures include Thani, Bafana, and Aaron. If a particular guide is important to you, ask the local supplier before booking, since guide assignments can change. German and Polish can also be requested, while the listed tour languages are English, Greek, Portuguese, and French.
Walking through the Isandlwana battlefield
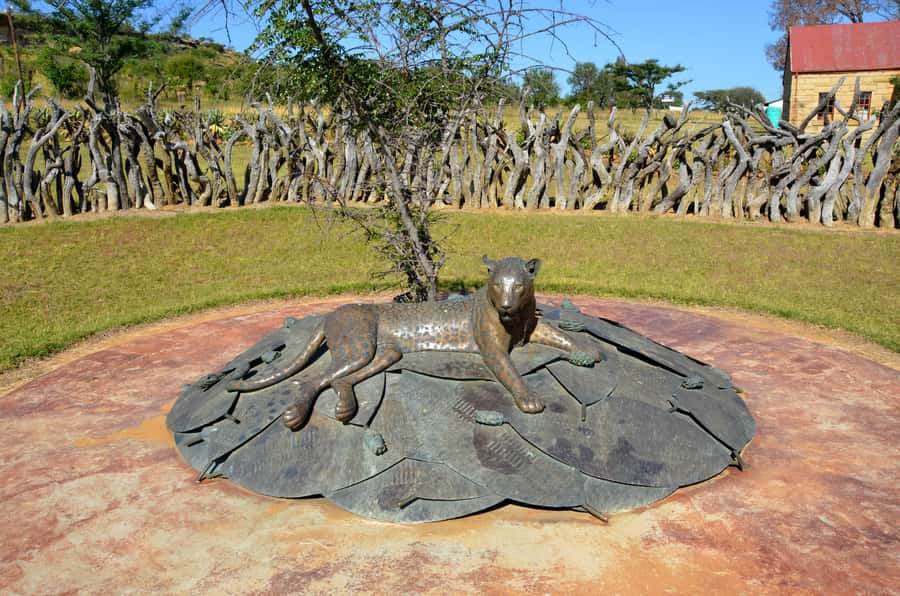
Isandlwana is the first major battlefield stop, with access to the battlefield and museum. The museum gathers the main information about the battle, while the outdoor site gives you the physical setting.
This combination is useful. A museum can give you dates, names, weapons, and a sequence of events. The field helps you consider distance, visibility, and the exposed position of the British force. You are not simply looking at an old military site. You are trying to understand how thousands of people met in battle across open ground.
The Battle of Isandlwana took place on January 22, 1879, only eleven days after the British invasion began. The Zulu victory had a major effect because it challenged the assumption that British military power would quickly overcome the Zulu Kingdom.
Take your time with the museum. It is the best place to bring the details together before moving to the next stop. If your guide explains the battle clearly, ask questions about the forces involved, the British deployment, and the difference between the Zulu weapons and the British firearms.
There is also a practical detail to check. The activity information says all entry fees are included, but the additional notes say the Isandlwana fee is not included in the ticket. Because those statements conflict, confirm the current admission arrangement with the local supplier before you pay. That small check can prevent an awkward surprise during the day.
Rorke’s Drift and the defence of the mission station
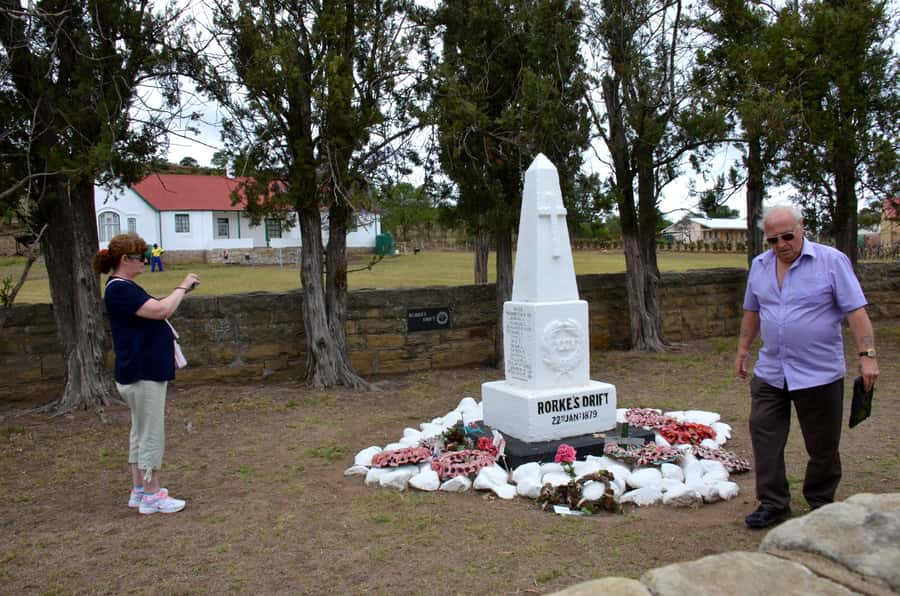
The tour then continues to Rorke’s Drift, also known as the Defence of Rorke’s Drift. This stop follows Isandlwana in both geography and history. The mission station was attacked immediately after the British defeat, and the fighting continued into the next day.
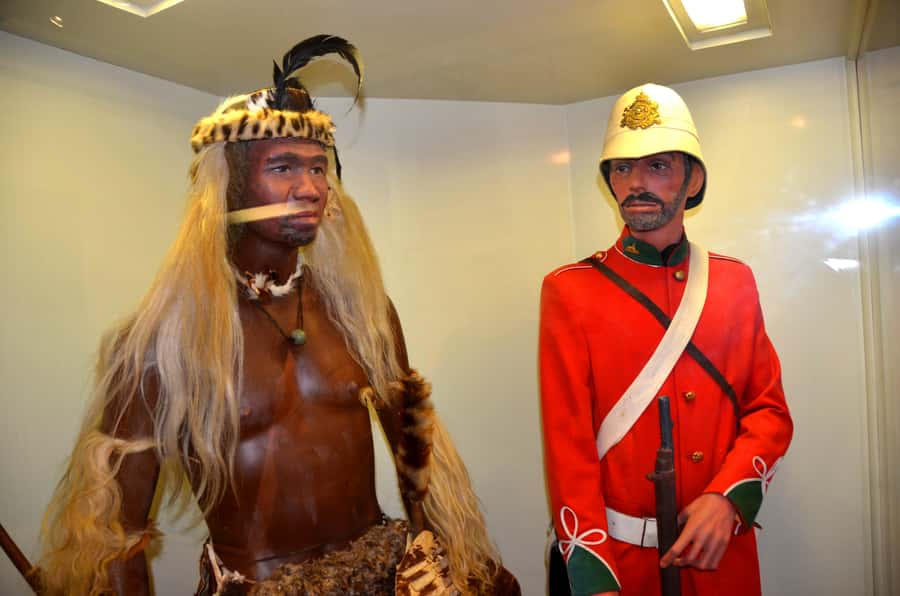
Rorke’s Drift is valuable because it gives the tour a different kind of military story. At Isandlwana, the large British force was overwhelmed. At Rorke’s Drift, a small British garrison organized a defence and held the position.
The two sites are often linked in popular accounts, but your guide can help keep the focus on what actually happened. The sequence matters. News of the defeat at Isandlwana created a serious threat, and the defenders at Rorke’s Drift had to prepare quickly.
You should expect this stop to be more about the defence of a fixed position than the wide movement of forces at Isandlwana. That contrast keeps the day from becoming repetitive. One battlefield shows the consequences of poor deployment and overwhelming numbers. The other shows how barriers, preparation, and determination shaped the result.
If you have watched films or read books about the Anglo-Zulu War, Rorke’s Drift may feel familiar. Even so, the site is more useful when you treat it as a real place rather than a movie setting. The guide’s explanation helps separate the documented battle from the dramatic version known through popular culture.
Same part of Durban, a completely different kind of day:
- Durban: 30-Minute Harbor Boat Cruise
★ 4.7 · 665 reviews - Durban: 1-Hour Boat Cruise from Wilson’s Wharf
★ 4.7 · 496 reviews - Durban: Pontoon Boat Harbor Cruise
★ 4.4 · 182 reviews - Durban: Gondola Ride
★ 4.8 · 159 reviews
Fugitives Drift and the Queen’s Colours memorial
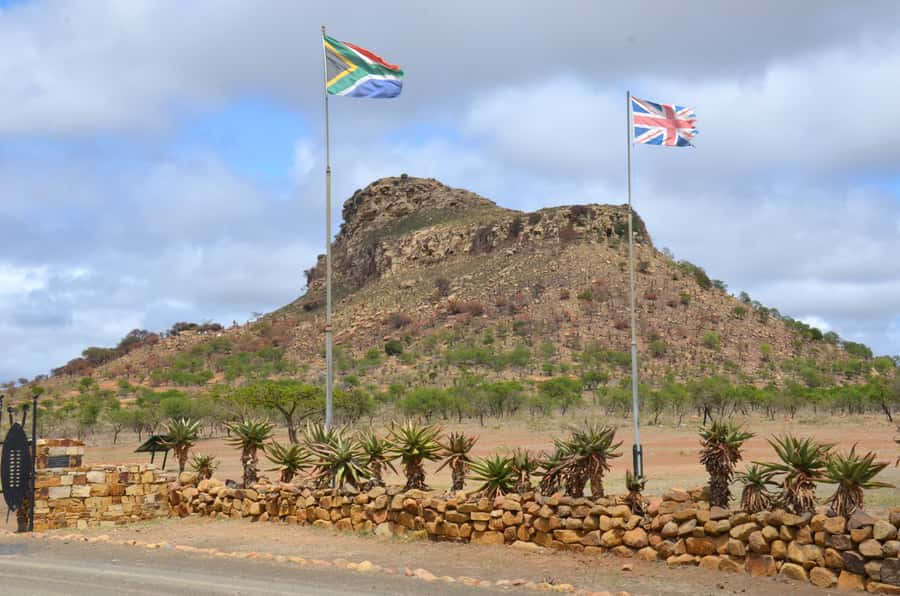
The final stop is Fugitives Drift, including the Queen’s Colours memorial. This gives the day a quieter closing point after the two major battle sites.
A memorial stop can seem less dramatic than a battlefield museum, but it adds an important human element. The Anglo-Zulu War was not only about military tactics and imperial policy. It involved soldiers, civilians, and Zulu warriors who died in large numbers.
The Queen’s Colours memorial is tied to the wider story of the retreat and the aftermath of Isandlwana. Your guide can place it within the day’s sequence before you begin the journey back to Durban.
I would not rush this stop. After a long day, you may be ready to return, but a few calm minutes here can help you process what you have seen. The open setting and memorial focus give the tour a more reflective finish than simply leaving after the museum.
What the $198 price includes
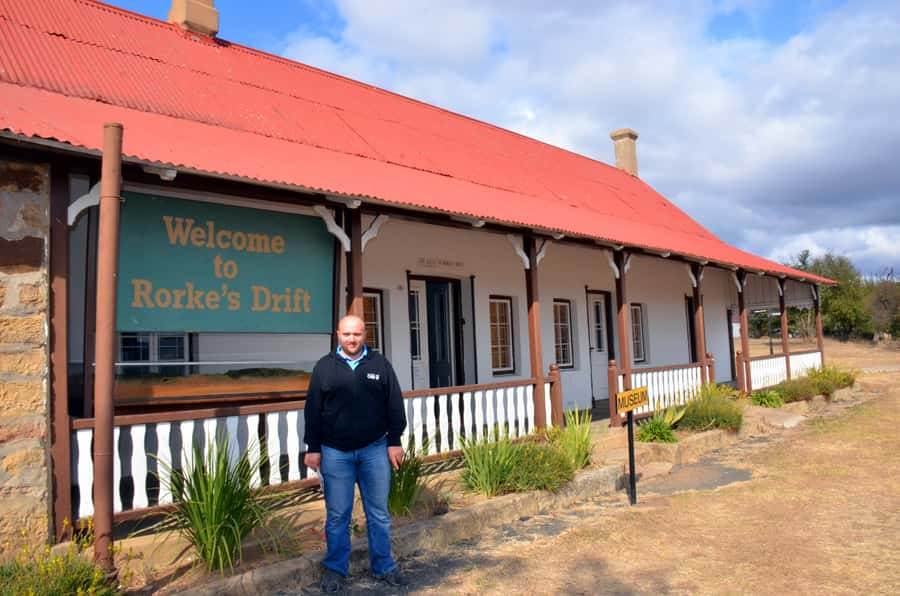
At $198 per person, this is not a cheap sightseeing outing. The value depends on how much you want a dedicated battlefield day rather than a general KwaZulu-Natal excursion.
The price includes transport and a professional tour guide, along with listed entry fees. You are paying for a very long day on the road, guidance at several historic sites, and the convenience of visiting Isandlwana, Rorke’s Drift, and Fugitives Drift from Durban without arranging the route yourself.
Lunch and drinks are not included. Plan for those costs separately, and bring water for the drive. You should also confirm the Isandlwana admission fee because the supplied details give conflicting information about whether it is included.
A specialized guide or qualified historian is available for an additional fee on request. This may be worth considering if you are studying the Anglo-Zulu War, have a strong military history interest, or want more detail than a standard sightseeing guide can provide.
For a casual visitor, the price may feel high for one day. For someone who has read about Isandlwana and Rorke’s Drift for years, the value is easier to see. You get the sites, the transport, and a guide who can connect the scattered pieces into one story.
The 14-hour day and its real demands
The main drawback is simple: this is a long day. You will spend many hours in transport, and the battlefield visits come within a tight schedule. That is the trade-off for reaching the sites from Durban and returning the same day.
Several people who have taken the tour describe it as a full-on or long day, while still rating the experience highly. That fits the itinerary. You should not book this if you want a slow morning, a long lunch, or plenty of unplanned time at each location.
The road itself can be enjoyable because the countryside changes as you move inland. Still, long drives can be tiring, especially if you are already adjusting to a busy South African itinerary. Comfortable clothing matters more here than smart sightseeing clothes.
The tour is wheelchair accessible, but you need to tell the local partner in advance if you use a wheelchair. The exact ease of moving around each battlefield and museum is not detailed, so ask about your specific needs before departure.
Who will get the most from this tour
I would recommend this trip to you if you have a serious interest in military history, colonial history, Zulu history, or battlefield tourism. It also suits anyone who has read about the Anglo-Zulu War and wants to place the events in their actual setting.
The tour can work for first-time visitors too, provided you enjoy guided history. You do not need to know every regiment or military term before you go. The museum and guide provide the framework, and the sites give the story scale.
It is less suitable if you dislike long drives or want a flexible day. Families with children may find 14 hours demanding, especially if the children have little interest in history. The same applies to anyone with limited time in Durban who would rather see several city sights.
The strongest guides make a real difference. Thani, Bafana, and Aaron are names associated with highly regarded departures, with praise focused on clear information, courtesy, safe driving, and helpful hosting. You should still confirm who will guide your departure, since no particular guide is guaranteed.
Booking details worth checking
Free cancellation is available up to 24 hours before departure for a full refund. You can also reserve now and pay later, which helps if your Durban plans are not fixed.
Pickup is possible from qualifying accommodations near the Gooderson Tropicana Hotel, and from the harbour passenger terminal. If your accommodation falls outside the 5-kilometre pickup area, contact the local supplier about a special arrangement.
The tour is offered in English, Greek, Portuguese, and French. German and Polish can be requested. Ask early if language support is important, especially because this is a detail-heavy day and the guide’s explanations are central to the experience.
Bring comfortable shoes, sunscreen, and comfortable clothes. Lunch and drinks are not supplied, so budget for them and check the admission fee issue before departure.
Should you book the Isandlwana and Rorke’s Drift day trip?
Book it if you want a focused Anglo-Zulu War experience and accept the cost of a 14-hour day. The pairing of Isandlwana and Rorke’s Drift is the reason to choose this tour. Add Fugitives Drift and the Queen’s Colours memorial, and you get a fuller account of the conflict than a single battlefield visit can provide.
Skip it if you want a relaxed Durban excursion or cannot manage a long day in transport. This is not a quick photo stop. It is a serious history outing with a demanding schedule.
For the right person, $198 buys more than a ride to distant sites. It buys context, access, and a guide-led account of two battles that changed the course of the Anglo-Zulu War. Confirm the Isandlwana fee, arrange any language or accessibility needs in advance, and bring the patience required for the road. Then this can be one of the most worthwhile history days available from Durban.
FAQ
How long does the Isandlwana and Rorke’s Drift tour last?
The tour lasts 14 hours, including the journey from Durban to the battlefields and the return trip.
What sites does the tour visit?
The itinerary includes the Isandlwana battlefield and museum, Rorke’s Drift, Fugitives Drift, and the Queen’s Colours memorial.
Is transport from Durban included?
Yes. Transport with a professional tour guide is included, and pickup is available from qualifying accommodations within a 5-kilometre radius of the local supplier’s office.
Can I be picked up from the Durban harbour?
Yes. Pickup is also available from the harbour passenger terminal.
What languages are available?
The listed guide languages are English, Greek, Portuguese, and French. German and Polish can be requested.
Is lunch included?
No. Lunch and drinks are not included in the price.
Are entry fees included?
The activity information says entry fees are included, but another note says the Isandlwana fee is not included. Confirm the current arrangement with the local supplier before booking.
Is the tour wheelchair accessible?
The tour is listed as wheelchair accessible. If you use a wheelchair, inform the local partner before the tour begins.
Can I request a historian?
Yes. A specialized guide or qualified historian can be requested for an additional fee.
Can I cancel for a refund?
Yes. You can cancel up to 24 hours in advance for a full refund.
Just added around Durban
- Durban: Phezulu Cultural Village & Reptile Park Tour★ 4.8 · 37 reviews
- From Durban: Oribi Gorge & Lake Eland Adventure Tour★ 5.0 · 5 reviews
- From Durban: Safari & PheZulu Village Day Tour★ 4.4 · 24 reviews
- Half Day Durban City Tour and Phezulu Safari Park★ 4.3 · 4 reviews
- From Durban: Wildlife Lovers Big 5 Safari at 2 Game Reserves★ 5.0 · 5 reviews
- From Durban: Half Day Durban City Tour★ 4.2 · 18 reviews
- DURBAN:Highlights cityTour.Historically Cultural experience★ 4.9 · 20 reviews
- Durban: Half Day Phezulu Safari Park and Durban City Tour★ 4.6 · 3 reviews
1-Day Tours, compared.

Big Five Safari and Breede River Valley Guided Day Trip
Read our review →
Jo’berg in 1 Day: Soweto, Apartheid Museum & City Tour
Read our review →
Cape Peninsula & Table Mountain Private Day Trip
Read our review →
Table Mountain and Cape Town City Half-Day Trip
Read our review →
Stellenbosch, Franschhoek and Paarl Winelands Full Day Trip from Cape Town
Read our review →
Sani Pass, Lesotho and Basotho Village Day Trip
Read our review →
Browse the lists this tour appears in